We (my wife and I) decided to look up some online templates to create this 8x10' floating dock. Keep in mind I've never built a floating dock before but I have built 2 decks at our previous house. So I know the basics anyway. We decided to go the route that uses foam instead of barrels. There's debate over which is better but foam was easy for us to get and to use. I'm sure barrels work just as well.
To start we laid out 2, 2x10x10' and 2, 2x10x8' in a box. We didn't have a very level ground to work with but the stationary dock worked just fine. Screw in your corners so they stay put while you can then cut 4, 20" lengths of 4x4 posts to put in the corners. This adds the stability you need and helps your deck from shifting.


Once you have these in place it's time to get your carriage bolts and 3/8" long drill bit. This will add extra stability to your framework. It's important to use carriage bolts so that they can't get ripped out or damaged like regular screws will. For these corners, I used 2 per side and they are 6" long.

Now that you have these all bolted in, it's time to build the inner framework of your floating dock. We wanted to put a crossbracing on both sides using 2x10s. We happened to have some 90 degree corner braces to help keep it stable in the middle. I don't think they are necessary but it doesn't hurt either way.


Next it's time to create your cross bracing that will hold in your foam runners. I used 2x6x8" for these pieces. Note: I would slightly shift the centre one so it's not over top of your middle bracing. When you attach your foam with carriage bolts you don't want the bracing to be in the way.

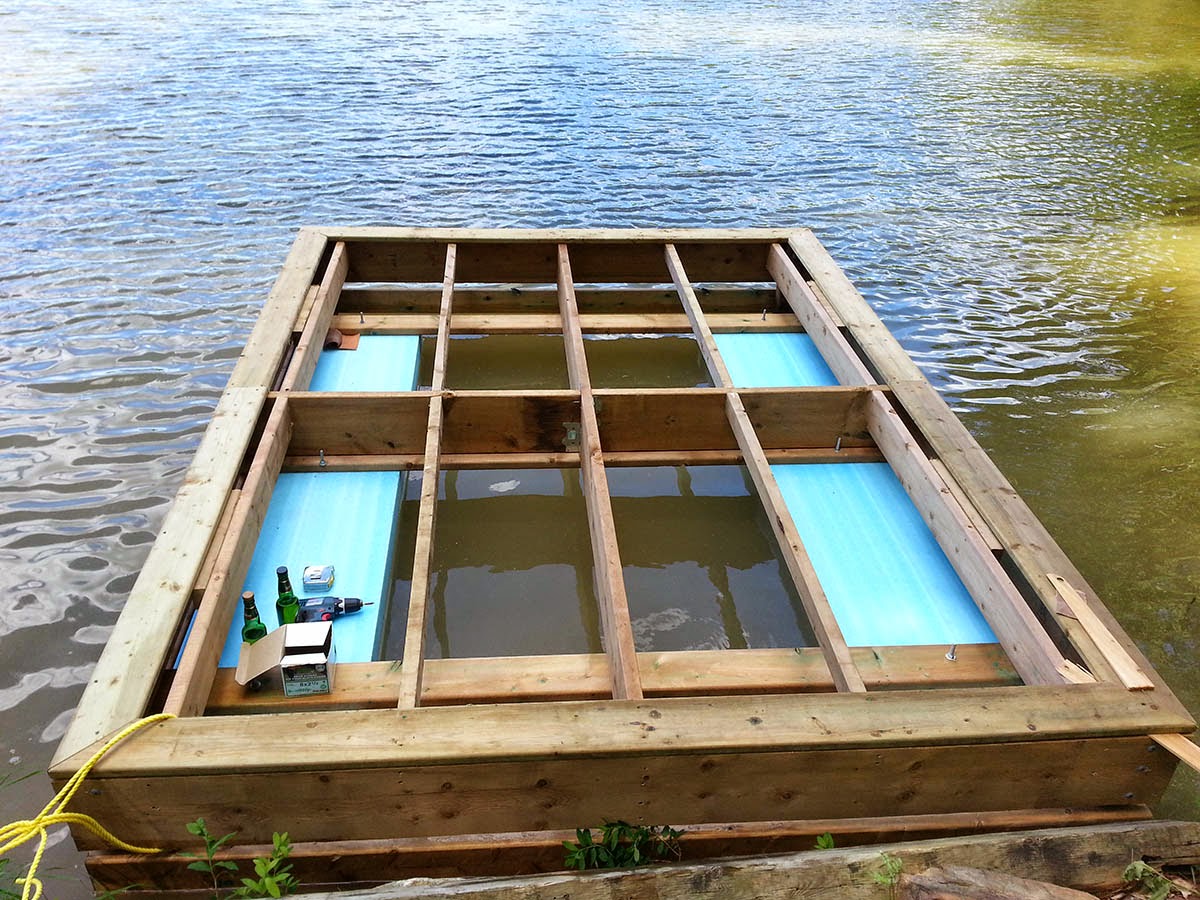
It's important to take a beer break every now and then.

We attached our skirting next. This is mainly a cosmetic touch as it hides the foam and sits right at water level. I'm sure it helps to add some stability though so I would make sure to use it. I used 2x6x10' and 2x6x8' pieces of lumber.

Now the fun part, adding the foam. Lay your foam lengthwise across your 2x6 bracing and then add your 2x6x8' on top.

Next up we need to attach it all together. I picked up some 12" 3/8" carriage bolts for this. Drill your hole from top to bottom and attach. You will use 3 per foam piece.

So you'll notice that the dock is being built upside down. This made the next step super easy. We put it up on it's edge and basically pushed it over into the lake. Fingers crossed it doesn't sink!

Success! Now it's time for the decking. There's a few options you can do here, 2x6s work well, but we had a bunch of leftover decking boards so we decided to use them up as they were free (basically). When I put the decking on I found the gap between the bracing was too large so we decided to add a few more 2x6'x between each section so that the decking won't sag when you walk on it. We also wanted a nice border around the dock so we added a second bracing so that the inner decking boards had something to attach too.
Attach your decking boards on the inside and done!

All in, it took 2 people about 6 hours from start to finish. Cost was about $550 not including the decking boards. So maybe $700 or so all in.